MyDesk · Outlook Addins

MyDesk in Outlook.
Choose your add-in.

Booking and meeting catering where you plan your working day. Find the right add-in and see how to get started.

The new AI version is in beta and not yet launched.

Overview

Three ways to use MyDesk.

Choose the add-in that suits your MyDesk setup. Your administrator can help you choose and grant access.

The product images show the user interface in English.

MyDesk

MyDesk Addin

For you who want to find and book office resources directly in Outlook.
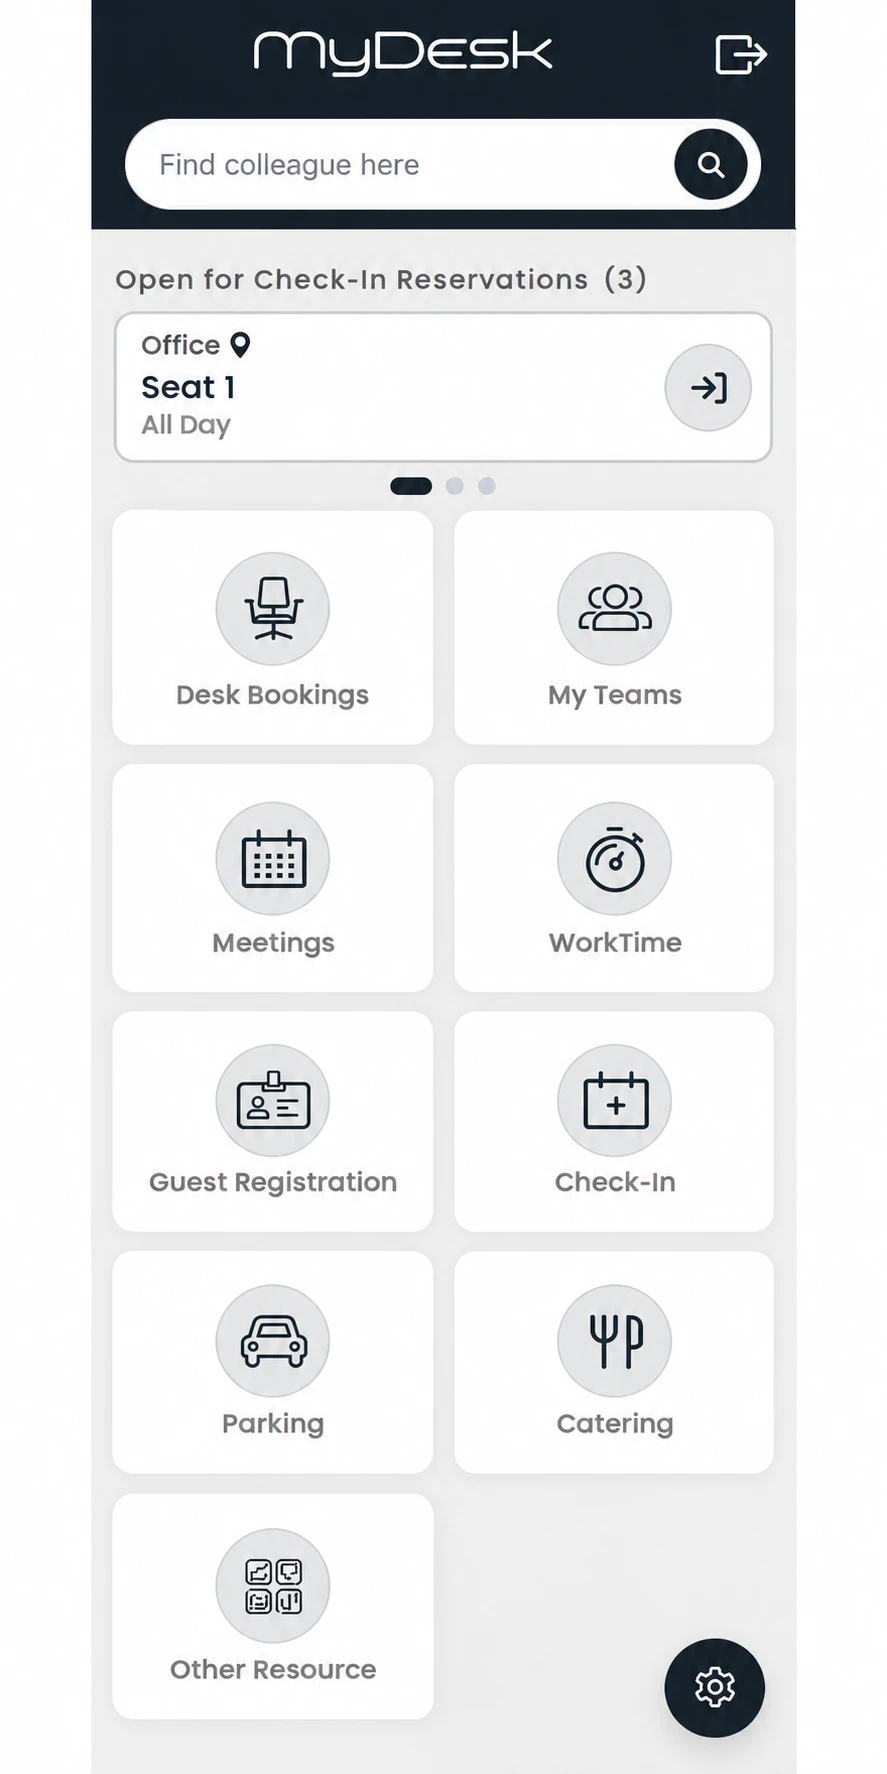
MyDesk Addin with reservations, desk booking, meetings and guest registration
Section of MyDesk Addin. Customized with AI and anonymized. Click to see the full panel.
  • Find and book meeting rooms
  • Book a desk for your office day
  • Order meeting catering when the module is part of your solution
Download MyDesk installation file How to install

Installation file · XML manifest

Catering

Catering Addin

For those of you who want to order food and drink for the meeting from your Outlook calendar.
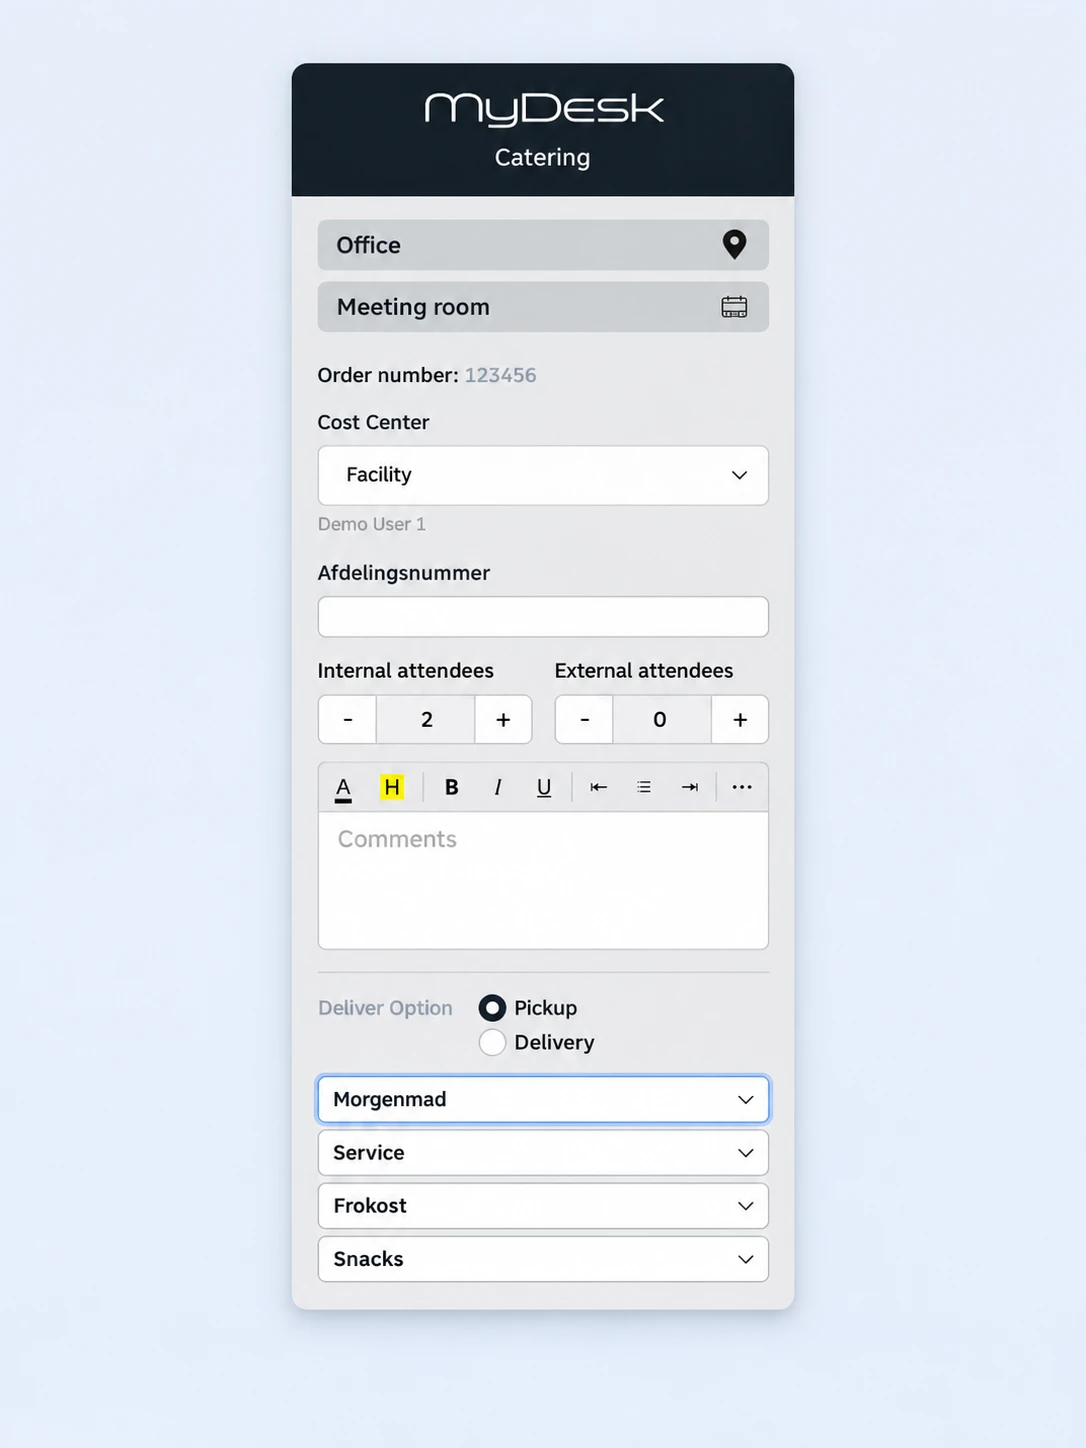
Catering Addin with cost center, participants, delivery and catering categories
Section of Catering Addin. Customized with AI and anonymized. Click to see the full panel.
  • Order meeting catering in Outlook
  • Choose from your available products
  • Give the canteen information about the delivery
Beta · Not yet launched

MyDesk AI Addin

Get AI suggestions before booking. Our latest Outlook add-in helps plan meetings and is available in beta.
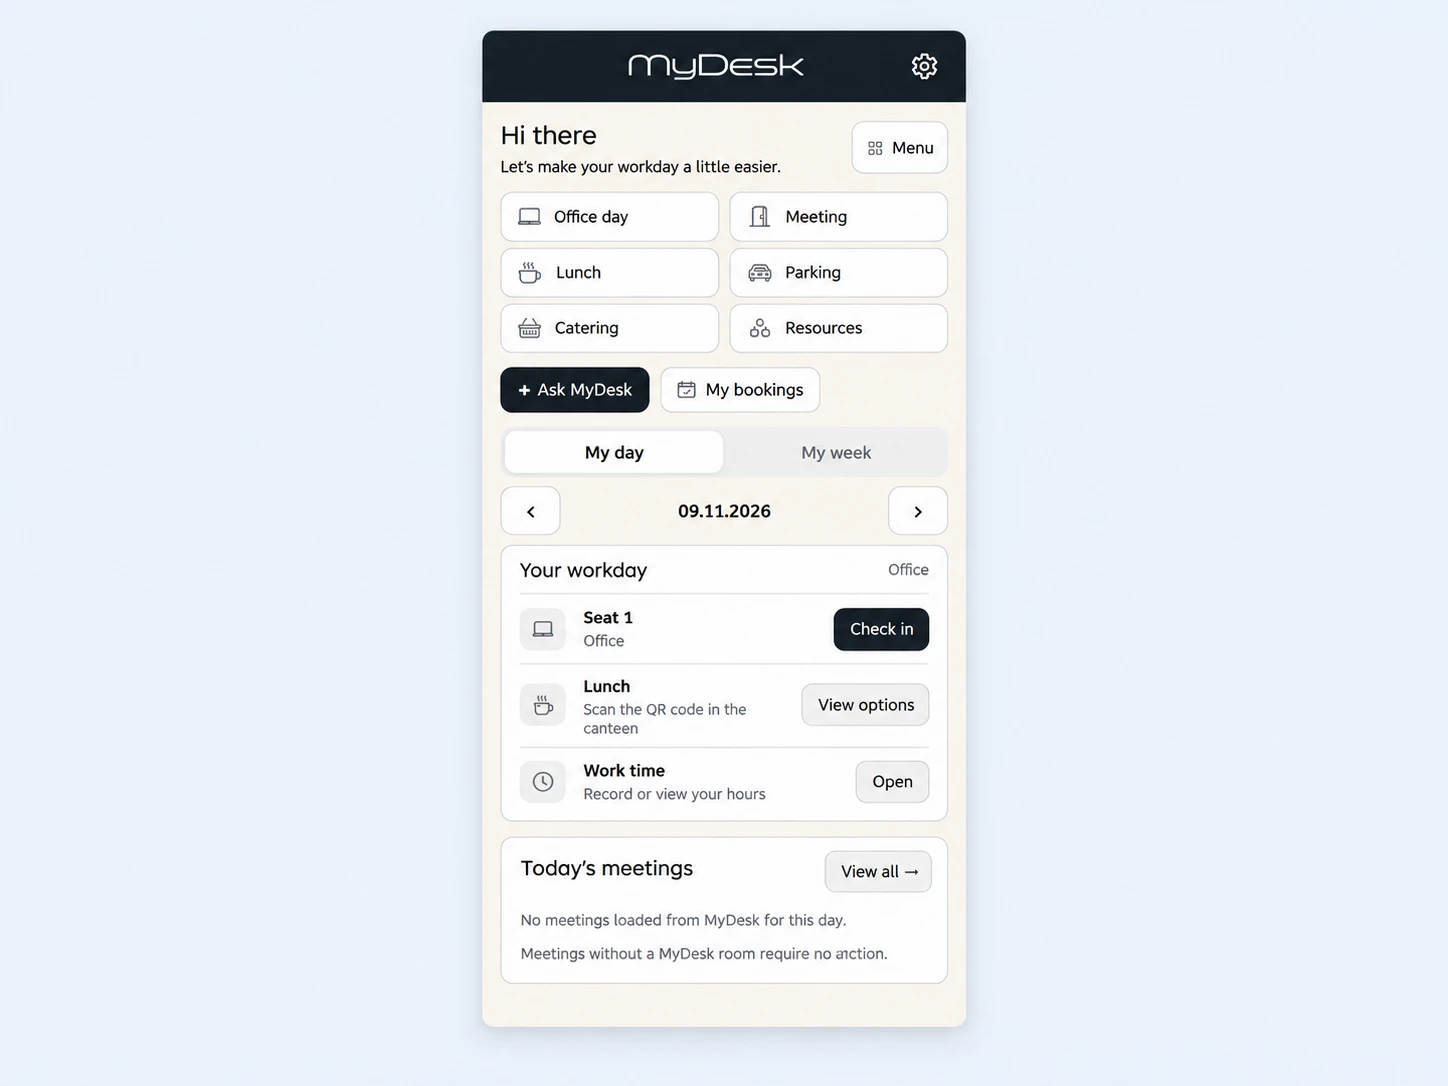
MyDesk AI beta's panel with meetings, catering, office day and Ask MyDesk
Section of the AI beta's user interface. Customized with AI and anonymized. Click to see the full panel.
  • Recommends a meeting room for your meeting
  • Suggests matching catering
  • Can automatically pre-register your guests
Download AI beta installation file Read about beta installation

Beta release · Not yet launched as a finished version.

Installation

Get started.

An add-in must first be installed or assigned by your IT department. Then you open it inside Outlook. Download the installer file for the selected add-in and follow the steps below.

Start with the right installation file

All three add-ins are installed as add-ins in Outlook. You need the XML manifest for the desired version. Clicking on the manifest link does not start the installation itself.

Has the add-in already been installed by your IT department? Go directly to Open the add-in after installation.

For employees

Install to your own account

If your IT department has already rolled out the add-in, simply open it in Outlook. Otherwise, the company must allow you to install it yourself.

  1. Save the installation file. Click the download button for the add-in you want. The installation file is downloaded in .xml format. Find it in your browser’s downloads, or choose where to save it if prompted.
  2. Open Outlook's installation dialog. Go to aka.ms/olksideload in your browser and log in with your work account. Outlook on web opens the add-ins dialog.
  3. Select your file. Open My add-ins → Add a custom add-in → Add from File, and select the saved XML file.
  4. Complete the installation. Review the information and select Install. The menu names can be in English: My add-ins → Add a custom add-in → Add from File.
  5. Open the add-in. Go back to Outlook and follow the steps below. If you are using Outlook on the computer, you may need to close and reopen Outlook.

Microsoft has removed the option to install from URL in this dialog. Therefore, save the manifest first and use “Add from file”. If the selection is missing, your IT department must help with the installation.

For IT administrators

Deploy via Microsoft 365

Make the add-in available to selected employees or groups through the company's Microsoft 365 administration.

  1. Open Microsoft 365 admin center Integrated apps.
  2. Select Upload custom apps and the app type Office Add-in for an XML manifest.
  3. Upload the downloaded manifest file or paste the manifest URL if the administration wizard offers it.
  4. Review the required permissions and assign the add-in to an agreed test group.
  5. Finish the rollout. Check the login and the relevant functions with a test user before expanding to more employees.

It may take time for the add-in to appear in Outlook. Client version, company policies and your MyDesk modules determine what is available.

Open the add-in after installation

  1. Open Outlook with the same work account that the add-in is installed to.
  2. Create or open a meeting request in the calendar to use the meeting and catering functions.
  3. Find MyDesk (also AI-beta) or MyDesk Catering in the ribbon or under Apps / All apps. The location depends on your Outlook version.
  4. Open the panel and sign in with your work account if prompted. Check that your relevant MyDesk features are available.

Is the add-in not showing? First check the work account and whether IT has assigned you the app. If personal installation is blocked, IT should use the central deployment above.

Need help?

We will help you further.

Are you in doubt about version, access or installation? Contact your administrator or MyDesk support.

Get help with installation

Page coming soon

Explore the platform on our homepage

Book a demo

Open the booking calendar in a new window